Making beats is an exciting journey that allows you to express your creativity through rhythm and sound. If you’re new to beatmaking, it can seem like a daunting task. But don’t worry—this guide is here to break down the entire process into manageable steps.
We’ll explore everything you need to know, including selecting the right tools, building drum patterns, and even mixing and mastering your final beat. This step-by-step guide will help you learn how to make your own beats that stand out. Let’s get started!
What is a beat?
Making beats becomes much easier once you understand what they really are. In music theory, a beat refers to the steady, underlying pulse you feel while listening to a piece—similar to the rhythm of a heartbeat.
However, in practice, modern musicians and producers often use the term "beat" to describe intricate, short tracks that go beyond just a drum pattern. These beats often include basslines, chords, and sometimes even melodies, creating a full and dynamic musical foundation.
For now, let’s just focus on the key term "tempo," which refers to the speed of a musical piece. For example, a tempo of 120 means there are 120 beats per minute.
Step 1. Set up everything you need for beatmaking
Embarking on your beatmaking journey requires some preparation. Let’s take a look at the essential tools you'll need to create your first beat, including both hardware and software. It’s important to keep in mind that these tools can represent a significant investment. However, you can often find similar tools for free or at a very low cost.
Choose your DAW
A DAW (digital audio workstation) is essentially your creative playground, where you'll craft and shape your beats, among other things. The first step is choosing the DAW that suits you best, then purchasing and installing it. With so many options available, it can feel overwhelming, but don't worry—we’ve got you covered. Our guide will walk you through everything you need to know to choose the perfect DAW for your needs.
Ultimately, it doesn’t matter too much where you start, as you can create amazing beats with any DAW. Some may simply be better suited to your specific goals. Regardless, you can try out free options, like GarageBand on macOS or BandLab Studio on PC, or take advantage of free trials offered by DAWs such as Ableton Live, Reaper, and FL Studio.
Sounds and plugins for beatmaking
Most DAWs come with a built-in collection of sounds and plugins, making it easy to start creating beats right away. For example, you can create a simple drum pattern and then use a reverb plugin to make it sound like it’s being played on a massive stage. The possibilities are virtually endless—there’s always room for experimentation and innovation.
Hardware for making beats
Now that your DAW is set up, you'll need a MIDI controller or a drum pad to create amazing beats with ease. While you can still make beats by manually placing notes with your mouse, this method can quickly drain your creativity and make it difficult to truly dive into the world of beatmaking. There are many manufacturers on the market, such as Arturia, Akai, and Native Instruments, so you're sure to find exactly what you're looking for.
Step 2. Create a drum pattern
Before we begin creating a drum pattern, it’s essential to understand the different drum sounds used by beatmakers and the role each sound plays in the mix. A typical beat consists of the following sounds:
- Kick drum (bass drum): Provides the low-end thump and defines the pulse of the musical piece
- Snare drum: Adds a punch and forms the groove of the beat
- Hi-hats: High-frequency percussion that emphasizes rhythm and groove
- Claps and percussion: Additional sounds like claps, snares, and other percussion elements that add texture
Let’s start with a kick drum to build the foundation of our basic drum pattern. Depending on your DAW, you’ll usually need to create a new instrument track and choose a virtual instrument. In this case, look for something like "Drums," "Electronic drum kit," or "Drum rack."
Once you've selected your drum kit, you can press the corresponding button on your MIDI keyboard or drum pad to play the kick drum sound. Typically, this will be the C1 note on the piano roll or the first pad. If you don’t have the hardware, you can simply use the pencil tool in your DAW to add a C1 note to your track. Feel free to explore the other sounds in the preset and see if they suit your style before moving on.
Starting with a kick drum
Now, let’s turn on the metronome. It will play a sound on every beat, helping us stay in time with the tempo and understand the placement of the drum sounds within the rhythm. Our goal now is to place or record kick drum notes on the first and third beat of the metronome. Then, simply duplicate these kick drums. The result should be something like this:

Complementing with a snare drum
So far, so good—you can feel the pulse of the beat. But what about the groove? To add that, try placing the snare sound on the second and fourth beats of the metronome and see how it changes the feel. Here’s how it should sound:

Adding some hi-hats
Now, let's add some hi-hats to really bring out the groove. Start by placing the hi-hat on each beat of the metronome, then add one more between them to create a tighter rhythm. Once you turn off the metronome, you should hear that your first drum pattern is almost complete.

Texturing with percussion sounds
To make your beat more unique and interesting, try adding claps or other percussion sounds. For example, placing a high percussion sound on the second and fourth hi-hat hits, along with claps on the sixth, seventh, and eighth hits, can create a pattern like this:

Spicing up the pattern
Beatmaking is all about experimenting with different sounds and patterns. The more you play with rhythms and grooves, the more you'll connect with the energy of the music. Try adjusting your drum pattern by shifting or adding a few hi-hat notes, claps, and percussion sounds around. The playground is yours to explore!

Step 3. Matching the energy with a bass, chords, and melodies
The bassline acts as a bridge between the drum pattern and the musical harmony of a beat. It anchors the harmony and provides depth to the track. It usually follows the root notes of your chords but can include slides, bends, or more intricate movement.
To compose basslines freely, it’s helpful to understand basic music theory, including scales, the circle of fifths, chords, and melodies. For now, let’s assume we’re in a key A minor (don’t worry if you're not familiar with it) and we'll use the following notes for our bassline: A, E, F, and G.
In your DAW, create a new instrument track and select a bass sound. Then, either place the notes A, E, F, and G on the track or record them using your MIDI keyboard. Make each note last for four beats (the length of one metronome cycle). Your beat should sound similar to this one now:

However, this bassline feels a bit dull. You can spice it up by adjusting the note lengths and adding more of the same notes to better support the groove of your beat.

Adding chords to a beat makes it fuller and more pleasing to the listener. Create a new instrument track and select a piano or synth. In our example, the bassline uses the root notes A, E, F, and G, so the corresponding chords are A minor, E minor, F major, and G major.
You can think of a basic chord as three notes played together. For example, the A minor chord consists of A, C, and E; the E minor chord is made up of E, G, and B; the F major chord includes F, A, and C; and the G major chord is played with G, B, and D. Play these four chords and you will get something like this:

As for the melody, choose another synth or piano for a new instrumental track and play any white keys on your MIDI-keyboard or simply place them randomly on the track with the pencil tool. Since your beat is in A minor, you are safe to play the white keys, and it should sound decent. As an example, you can listen to the beat below:

Step 4. Mixing and mastering
Mixing involves adjusting individual tracks (drums, melody, bass, etc.) to create a balanced and cohesive sound. These are the basic mixing elements:
- EQ (Equalization): Use EQ to adjust the frequency balance of your sounds (cutting unwanted frequencies and boosting desirable ones). One generally good technique is to boost the low frequencies (100–200 Hz) on the kick drum, while cutting them from the snare or hi-hats.
- Compression: Helps control the dynamic range by reducing the volume of louder sounds and increasing the quieter ones. Use it to tighten up your drums and bass.
- Reverb and Delay: Add space and depth to your sounds. Use reverb on the snare and delay on the vocals or melody.
- Panning: Place instruments in the stereo field to give the track width (e.g., panning the hi-hats slightly left, the snare to the right, etc.).
- Volume Levels: Balance the levels of all elements so nothing overpowers the other. The kick and bass should be prominent but not overpowering.
Mastering is the final step of the production process, where you prepare your track for demonstration or distribution. Some of the basic mastering elements include:
- Final EQ Adjustment: Make subtle EQ adjustments to ensure the track sounds balanced on all systems.
- Compression: Apply light compression to glue everything together, making the track sound polished.
- Limiter: Use a limiter to raise the overall volume without clipping.
- Stereo Width: If necessary, slightly widen the stereo field to ensure the track sounds full on all devices.
Mixing and mastering are crucial steps that require a lot of practice. Listen to the final version of the beat and compare it to the original, pre-mixed version we started with:

Step 5. Grow and improve with Pibox
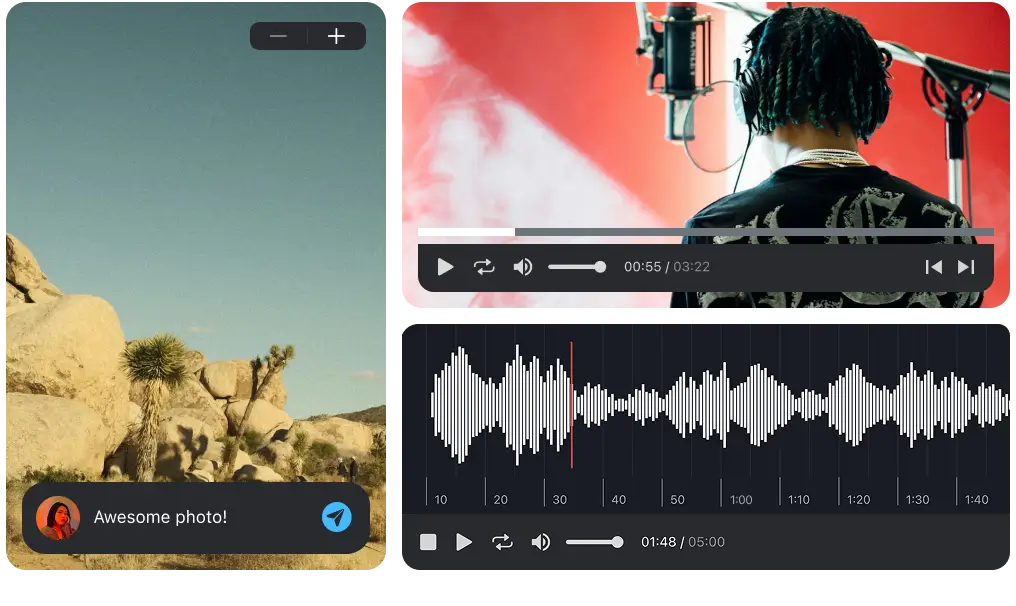
Last but not least, seeking feedback on your work is essential. It’s a vital part of helping any beginner beatmaker grow and improve. With Pibox, this process becomes so much easier! You can invite fellow beatmakers and receive detailed feedback directly on your beat’s timeline. This means that collaborators can comment and make suggestions at specific points in the track, providing their feedback on things like the drum pattern, melody, or mixing.
Another major advantage is the built-in cloud storage, allowing you to securely store your projects online, access them from any device, and ensure that your work is safe and easily shareable with collaborators. This eliminates the risk of losing files and enables seamless remote collaboration.
Additionally, no installation is required, making Pibox incredibly accessible. You can start working right away through your browser, which is convenient and user-friendly. These features combined make Pibox a powerful tool for growth and creativity in beatmaking.
Easier, faster way to collaborate in real-time, collect feedback, manage reviews, share, and finish your projects effortlessly.
Wrapping up
Creating beats is both a technical and creative process. By following this guide, you can start with the basics of music theory and work your way through each stage of production. Practice, experimentation, and developing your own style are key to becoming a proficient beatmaker.
Good luck, and have fun making your beats!


